














Assessing the Shoulder Season Transition
For many RVers, late October marks a significant turning point in the travel calendar. The air is crisper, campgrounds are quieter, and the temptation to squeeze in one final weekend getaway is high. However, this is also the period where the risk of freezing temperatures increases, necessitating a shift in how you manage your vehicle. According to Go RVing’s guide to winter storage, the general rule of thumb for winterizing is to prepare your plumbing systems once temperatures are expected to remain at or below freezing for approximately 24 hours.
If you are planning to extend your season, you must remain vigilant about weather reports. Winter storms can bring extreme cold, freezing rain, and high winds, which can cut off heat and power services unexpectedly. As noted by Ready.gov, being prepared for winter weather involves creating an emergency supply kit and staying informed about winter storm watches and warnings. If you decide that the risks of freezing pipes or hazardous road conditions outweigh the benefits of travel, it is time to begin your seasonal RV storage plan.
The Critical Systems Check
Winterizing is not merely about protecting the water lines; it is about mitigating the damage caused by prolonged inactivity. The most common risk to an RV during the winter months is freeze damage. When water trapped in pipes freezes, it expands, causing fittings to crack and lines to burst. The process of winterization involves draining the fresh, gray, and black water tanks completely. You must also open the low-point drains under the RV and ensure the water heater is bypassed before running RV-safe antifreeze through the lines. Do not overlook the p-traps in your sinks, shower, and toilet, as these also require antifreeze to prevent freezing.
Beyond plumbing, the electrical system requires a strategy for the off-season. RV batteries are susceptible to damage if left to sit for months without maintenance. Parasitic loads and self-discharge can drain a battery, leading to long-term degradation. If you choose to leave the battery in the RV, ensure the rig is plugged in or use a battery kill switch. If the battery is removed, a battery maintainer or trickle charger is essential. Lithium batteries, however, require specific care; they should be charged to 50 to 80 percent before storage, as they should not be stored at a full 100 percent charge. For more on battery management, see our guide on portable power versus installed battery systems.
While you are under the hood or checking the electrical bay, take a moment to review your safety equipment. Ensure that your smoke alarms and carbon monoxide detectors are functioning and that you have fresh batteries. For a refresher on why this matters, review our guide on how to learn the alarms and exits before the first night of your next trip, as these habits are just as important to maintain during the off-season.
Securing the Cabin and Chassis
The interior and exterior of your RV act as a habitat for pests during the winter. Mice and insects are constantly looking for a warm, dry place to escape the cold. Before you lock up for the season, remove all food and perishables. Do not overlook toiletries or liquids that could freeze or burst, as these can create a mess and attract unwanted visitors. Sealing vents and cracks is a vital step in pest prevention.
Moisture control is equally important. Temperature fluctuations during the winter can cause condensation to build up inside the cabin, potentially leading to mold growth. Using moisture absorbers can help regulate the internal environment. On the exterior, a thorough inspection of the roof, seals, and caulking is necessary to prevent water intrusion. If you are storing your RV outside, consider the following checklist to ensure your rig remains protected:
Winterization Workflow Checklist
- Plumbing: Drain all tanks (fresh, gray, black), open low-point drains, and bypass the water heater.
- Antifreeze: Run RV-safe antifreeze through all lines and pour extra into all drains and the toilet.
- Batteries: Disconnect or remove batteries. Place them on a maintainer if they remain in the vehicle.
- Pest Control: Remove all food, toiletries, and perishables. Seal vents and cracks.
- Interior: Place moisture absorbers inside to prevent mold.
- Exterior: Inspect the roof, seals, and caulking for any potential leaks.
- Tires: Inflate tires to the recommended pressure and use jack pads or blocks to reduce the load and protect them from ground moisture.
- Covering: If storing outside, use a UV-protected, mildew-resistant RV cover to shield the rig from snow, ice, and sun.
Finally, remember that maintenance does not stop once the RV is parked. Even in storage, you should perform periodic checks on the tires, battery status, and seals. By investing this time in late October, you ensure that your RV remains in good condition, ready for the first warm days of spring.
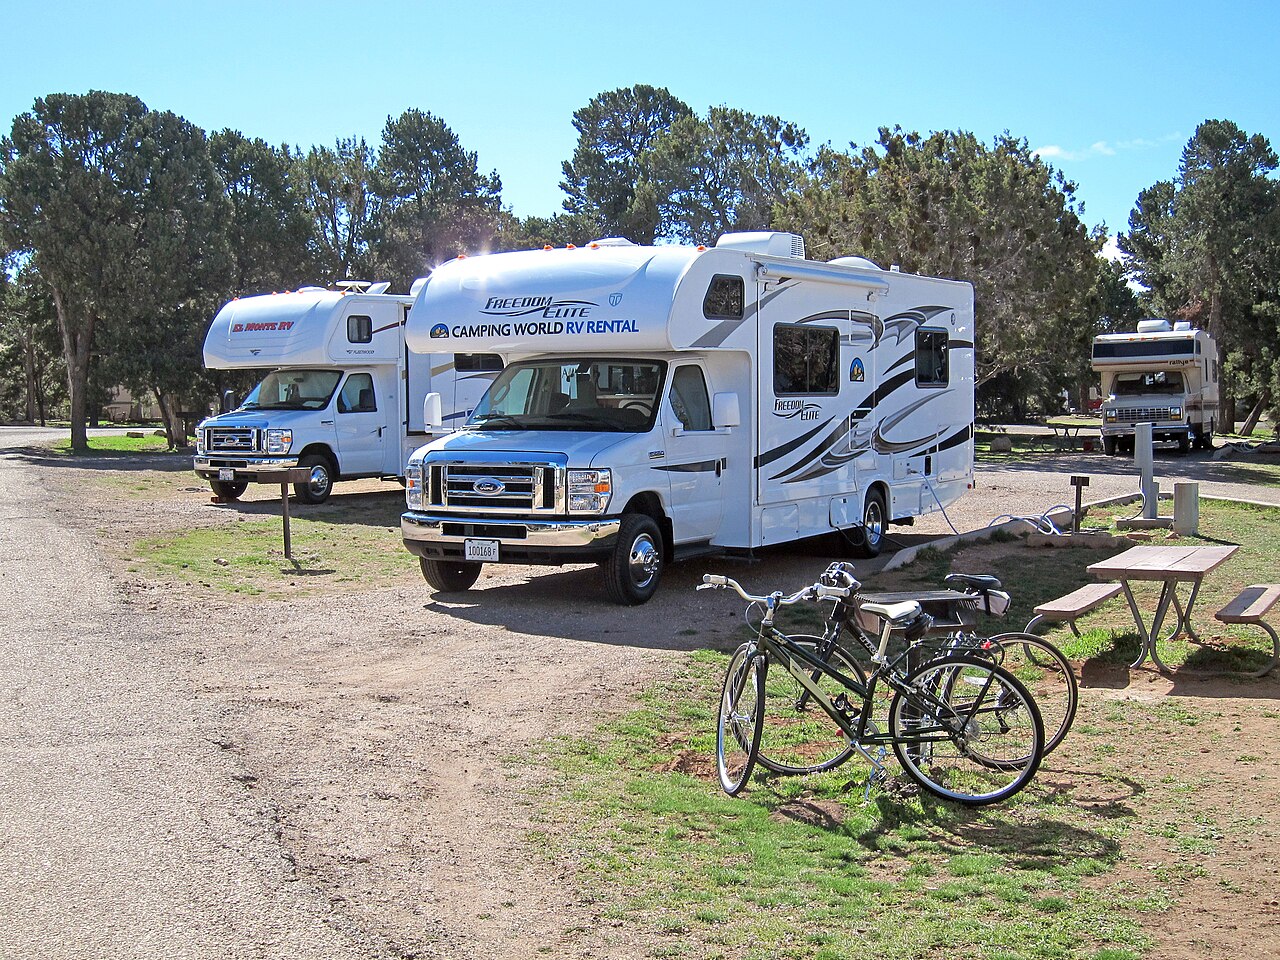
Representative photo: RVs parked at a campsite, illustrating the type of vehicle that requires seasonal maintenance and winterization as the travel season concludes. Photo: Grand Canyon National Park / Wikimedia Commons · CC BY 2.0. Resized for display. Sources checked October 23, 2026.