














Cooling Systems: Inspection and Preservation
As the days grow shorter in late October, the rhythm of RV travel shifts from constant movement to periods of stillness. This transition period is the ideal time to evaluate the gear that supported your adventures over the past few months. Proper off-season maintenance is not just about cleaning; it is about extending the life of your equipment so that it functions reliably when you return to the road next spring.
Start by assessing your refrigeration and cooling units. Whether you use a passive cooler, an absorption unit, or a compressor-based fridge, each technology requires a different approach to storage. According to the Dometic cooling technologies guide, passive coolers rely on high-quality insulation and should be cleaned thoroughly to prevent mold or odors from developing while in storage. Ensure the seals are clean and the interior is completely dry before closing them for the winter. For powered units, such as compressor or absorption coolers, the off-season provides an opportunity to inspect power cords, 12-volt connections, and ventilation areas. If your unit is stored in a location with extreme temperature fluctuations, ensure that the cooling system is not obstructed and that any integrated battery protection features are set to prevent deep discharge during extended downtime. For more on selecting the right unit for your needs, see our van fridge buying guide.
Cooling Gear Storage Checklist
- Clean the interior of all coolers and fridges with mild soap and water, ensuring they are completely dry before storage.
- Inspect all power cords and 12-volt plugs for signs of wear or fraying.
- If using a passive cooler, check the labyrinth seal for debris that could compromise its insulation performance.
- For powered units, verify the condition of any integrated battery protection settings.
- Clear any dust or debris from ventilation fans or heat exchangers to maintain efficiency for your first trip next season.
Leveling and Stability: Inspecting Hardware Before Storage
Another critical component of your end-of-season routine involves your leveling and stabilization equipment. Many owners confuse these two systems, but they serve distinct purposes. As noted in the Lippert guide on leveling versus stabilizing jacks, leveling jacks are designed to handle the weight of your trailer and level it on uneven ground, whereas stabilizers are intended only to reduce movement and swaying while you are inside the rig. Misusing these systems—such as using stabilizers to level the unit—can result in significant damage. Before you store your RV, take the time to inspect these systems for signs of rust, wear, or mechanical failure. If you use manual jacks, ensure the crank handles are stored in a dry, accessible location. For electric or hydraulic systems, check for fluid leaks or loose connections. For a deeper look at the differences between these systems, refer to our article on leveling blocks, jacks, and stabilizers.
Leveling and Stabilization Inspection Checklist
- Check all jack footpads for signs of rust or deformation.
- If you use manual jacks, ensure the crank mechanism operates smoothly and is free of debris.
- Inspect hydraulic lines or electrical connections on power leveling systems for any signs of leaking or corrosion.
- Clean and lubricate moving parts according to the manufacturer’s recommendations to prevent seizure during the off-season.
- Verify that your wheel chocks and leveling blocks are cleaned of mud and gravel before being packed away in your storage compartment.
Refreshing Your Emergency Kit for the Off-Season
Finally, the transition to the off-season is the perfect time to audit your emergency and safety equipment. A disaster supply kit is not a static collection of items; it requires regular maintenance to remain effective. According to Ready.gov’s guidance on building a kit, you should re-think your needs every year and update your kit as your family’s needs change. As you pack away your RV for the winter, take the contents of your emergency kit out to check for expired items, such as food, water, or medications. If you have stored your kit in the RV, consider bringing it inside your home during the winter months to protect it from extreme temperatures, which can degrade items like batteries or certain medical supplies.
Emergency Kit Maintenance Checklist
- Check the expiration dates on all non-perishable food items and replace them as necessary.
- Test your battery-powered or hand-crank radio to ensure it is still functional.
- Inspect your first aid kit and replenish any depleted supplies or expired medications.
- Verify that your fire extinguisher is still within its service life and that the gauge indicates it is properly pressurized.
- Ensure that all important family documents are protected in a waterproof container and that any electronic backups are up to date.
By dedicating time in late October to these maintenance tasks, you are not just closing out the current season; you are actively preparing for a smoother, more enjoyable start to your next year of travel. Proper gear care today leads to fewer surprises tomorrow.
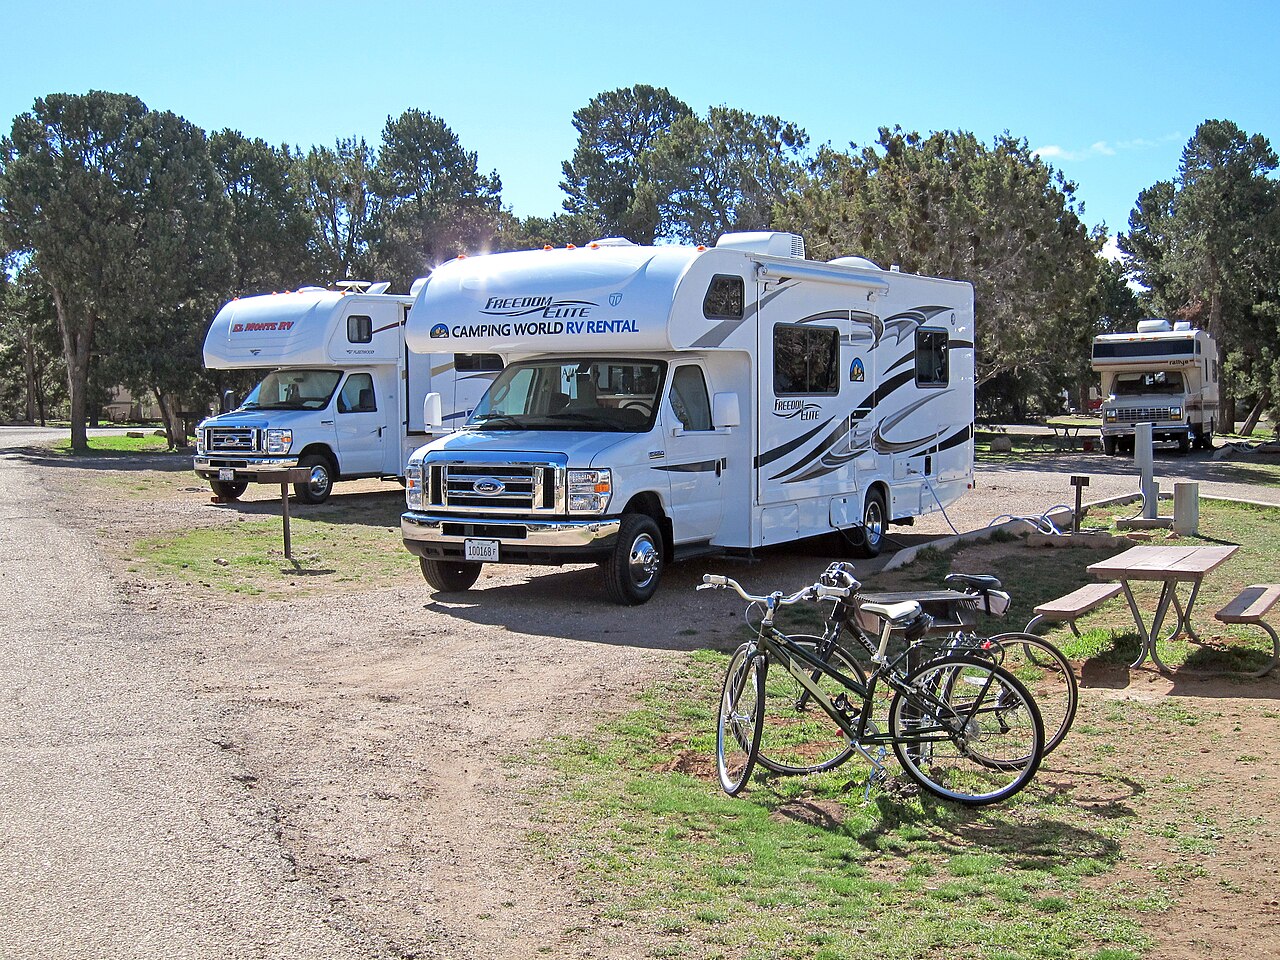
Representative photo. A campground scene showing multiple RVs, which serves as a visual reminder of the equipment that requires seasonal maintenance and inspection before being put into storage. Photo: Grand Canyon National Park / Wikimedia Commons · CC BY 2.0. Resized for display. Sources checked October 23, 2026.