
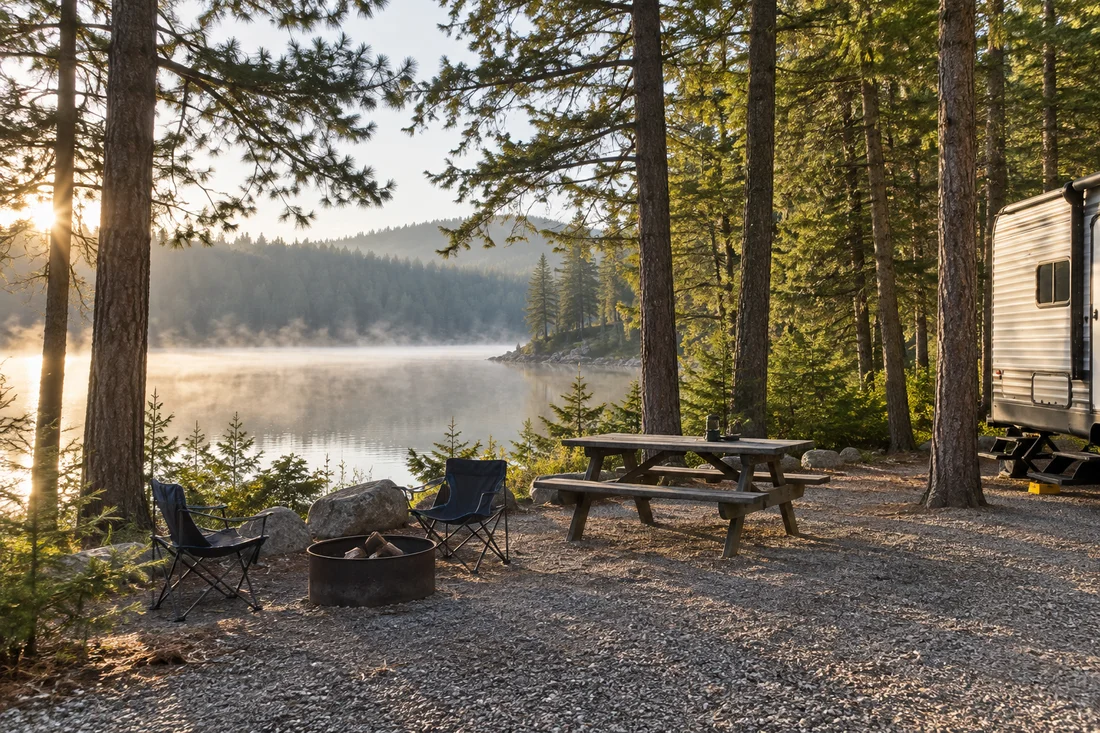
A screened shelter can make sitting outside more appealing, but it also becomes another piece of campsite equipment to transport, set up, and put away. Decide how it would change a real day before comparing attractive photographs. A weekend with long afternoons at one campground asks something different from a trip with a new overnight stop each day. This is a practical selection guide, with no claimed weather or insect-exclusion testing.
Draw the occupied footprint
Start with the campsite arrangement you normally use. Mark the vehicle, entry steps, picnic table, and the paths between them. Then add the shelter and the space its instructions require for securing it. A manufacturer’s stated footprint, such as the dimensions on Coleman’s Back Home screen-canopy listing, is a starting measurement. It does not establish permission or fit on a particular campsite.
Check the campground’s rules before treating a shelter as part of every reservation. Ask about additional structures, ground attachment, and the usable site area. Keep the answer with your booking information. The NPS camp-etiquette guidance reminds visitors to consider the effect of their setup on other campers; that principle applies to circulation and shared space as much as to noise or lights.
Choose the activity first
Describe what will happen inside: reading, sitting around a table, or finding an evening place to talk. Measure the furniture you intend to use and leave a workable entrance. Do not infer a permitted cooking arrangement from a screened wall or a photograph. Follow the shelter and appliance instructions, and use equipment only in the environments for which it is intended.
Think through pets, children, and people carrying dishes or bags. How does the entrance close? Can a person manage it while using an appropriate mobility aid? A showroom demonstration can reveal whether the opening works for your users. Ask whether the model includes the panels, floor, or accessories shown in promotional images, and what those items change about the required setup.
Price the packing routine
Compare packed dimensions, weight, and the number of pieces that must be kept together. Identify a storage position that remains accessible after the rest of the vehicle is loaded. Ask to see the complete setup and takedown instructions. A short advertised setup time is less relevant than whether the intended traveler can reliably perform the entire process, including anchoring and packing, according to the manual.
Make a plan for wet or dirty equipment before the first trip. Find the manufacturer’s drying, cleaning, storage, and weather restrictions. Ask which parts can be replaced and how an accidental missing connector is handled. Consider whether your normal departure schedule leaves room for care. An outdoor room that repeatedly occupies the interior while drying may undermine the very space benefit you hoped to gain.
Keep the decision proportional
Our editorial criteria are useful occupied space, manageable packing, suitable access, clear instructions, and service support. Weather resistance and durability are unscored. Pair the purchase with our campsite-fit guide and the rainy-day routine. If you seldom stay in one place long enough to use the room, improving a smaller seating setup may be a better starting point than carrying more equipment.
At a glance
Editorial rating: Unscored - no completed test assessment